Google Wallet recently took over a little bit of a makeover. With it, there may be a few buttons out of place. This guide will take you through navigating the new Google Wallet look, re-ordering or customizing cards, and finding your settings.
This recent change isn’t the biggest shift Google Wallet has seen in a while. About this time last year, we saw Google Wallet take over as the preferred touchless payment method and virtual wallet. The shift saw Google Pay retreat into the shadows, not to be confused with the very similar but different GPay.
Now, Google Wallet is seeing a slight touchup, shifting UI elements around and making the app a little more compact and useful. There aren’t any massive changes, but things definitely look different, including virtual card and pass placement changes.
Navigating the new design
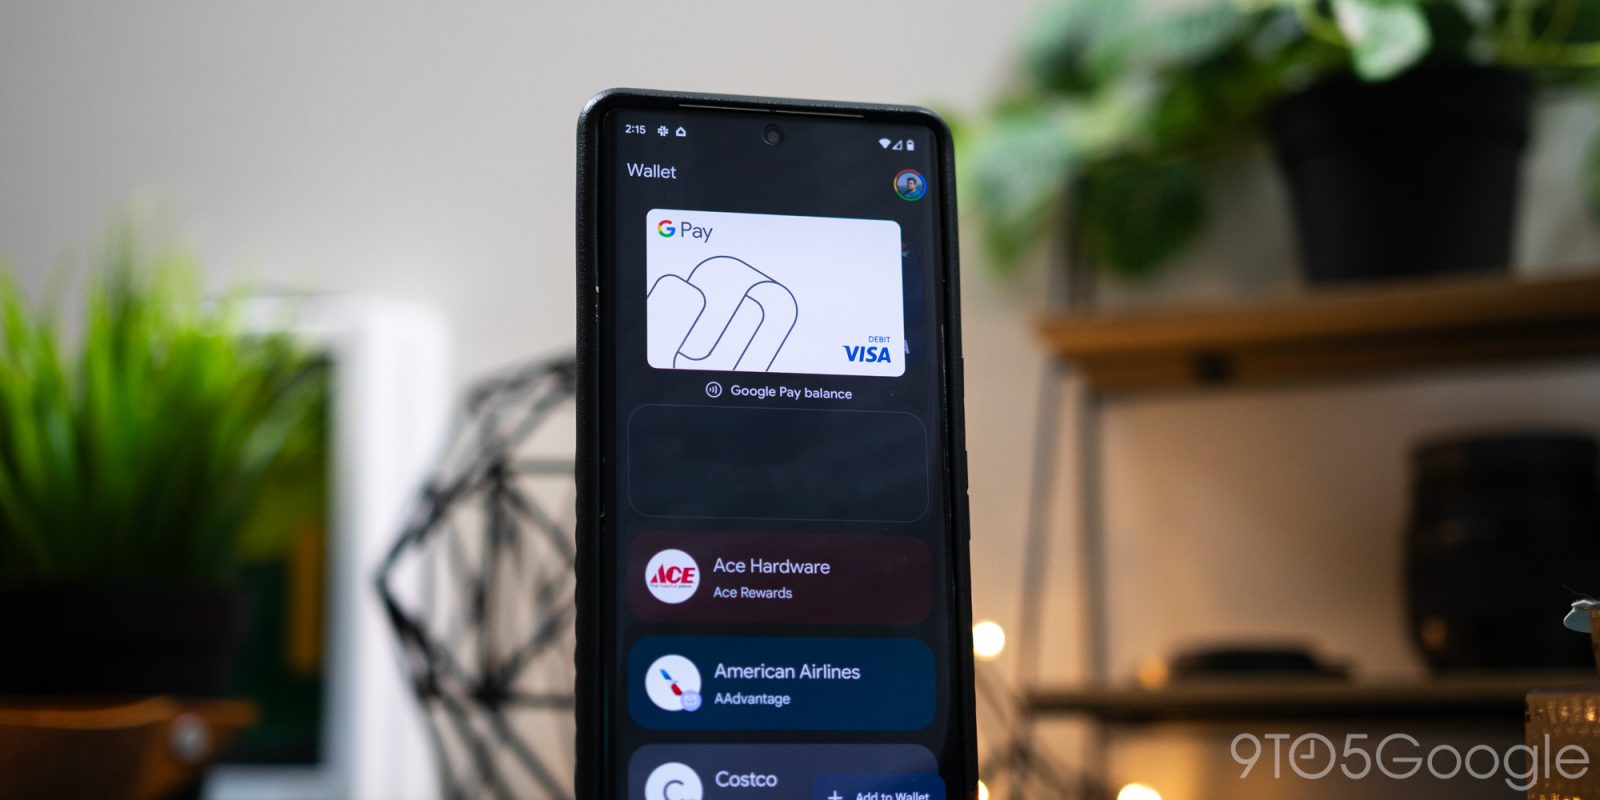
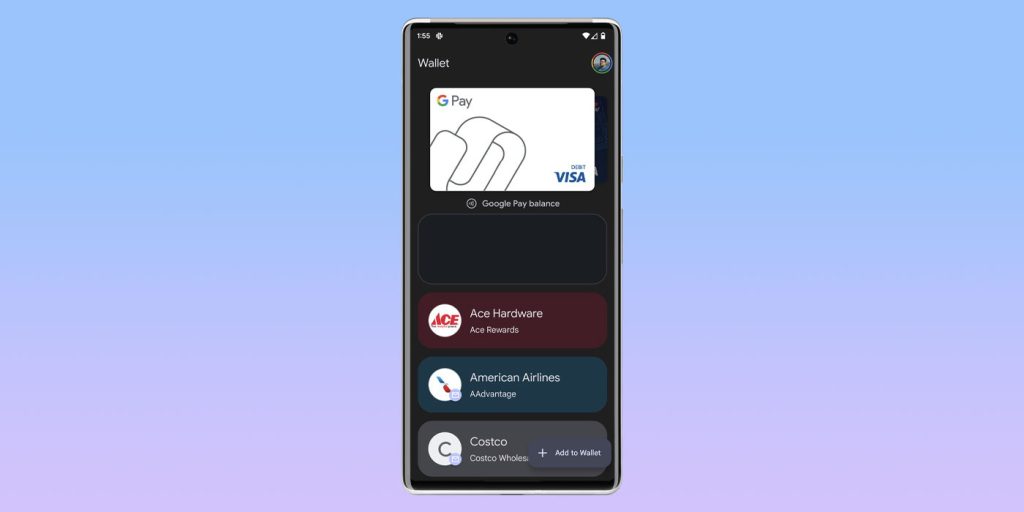
When opening Google Wallet, you’ll immediately notice that the card carousel has been condensed. Rather than a line of cards that can be shifted to select certain payment methods, the arrangement is now a stack where the active card sits on top.
You select cards by swiping – unchanged from the previous version of the app; whichever card sits at the forefront is ready to be used as a touchless payment method. Tapping the card brings up its details, including recent activity and the ability to add a nickname.
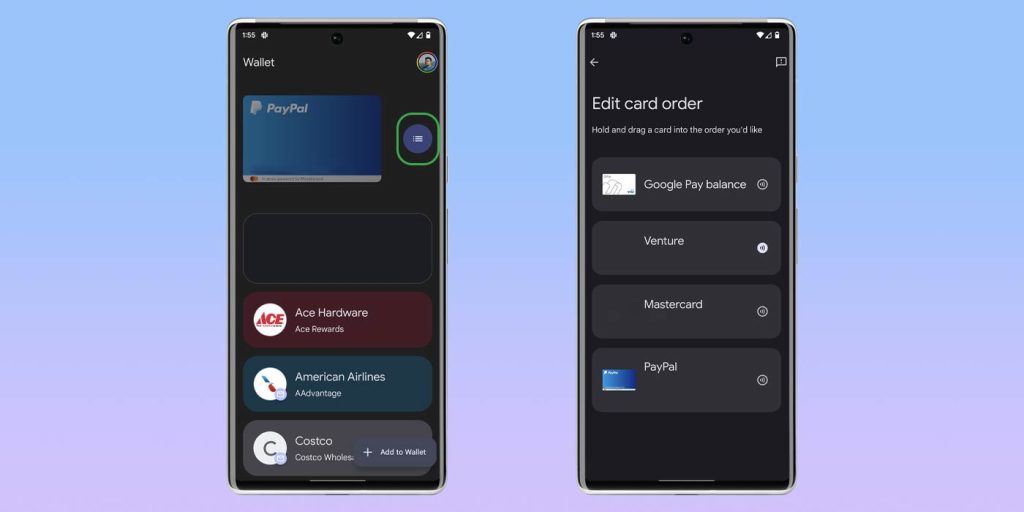
The way card order is changed or customized in Google Wallet has also changed. To change where a card appears in the list, swipe all the way to the right of the stack. Tap the list icon, and you’ll see all of your cards. Hold and drag cards down or up the list to change their order.
If you’re looking to add a new card, you’ll find a button towards the bottom of the screen. It should say “Add to Wallet” or at least present a plus icon. Tapping it will bring you to the import screen, which has you select the type of pass or card you’re adding. From there, you can enter the details necessary to have that pass added.
Note: ID cards are still limited to Maryland residents, though Google intends on bringing more region’s government IDs to the app.
To access your settings, just tap the profile photo in the upper-right corner of the app. From there, hit Wallet settings, and configure whatever options you’d like. We recommend keeping purchase review and pass updates on, so you avoid fraud and don’t miss a thing.
The new look is rolling out to users now. The new design is a little more concise and to the point, which makes it a little easier to use. After all, if Google really wants it to replace physical wallets, it should be entirely user-friendly.
FTC: We use income earning auto affiliate links. More.

Comments