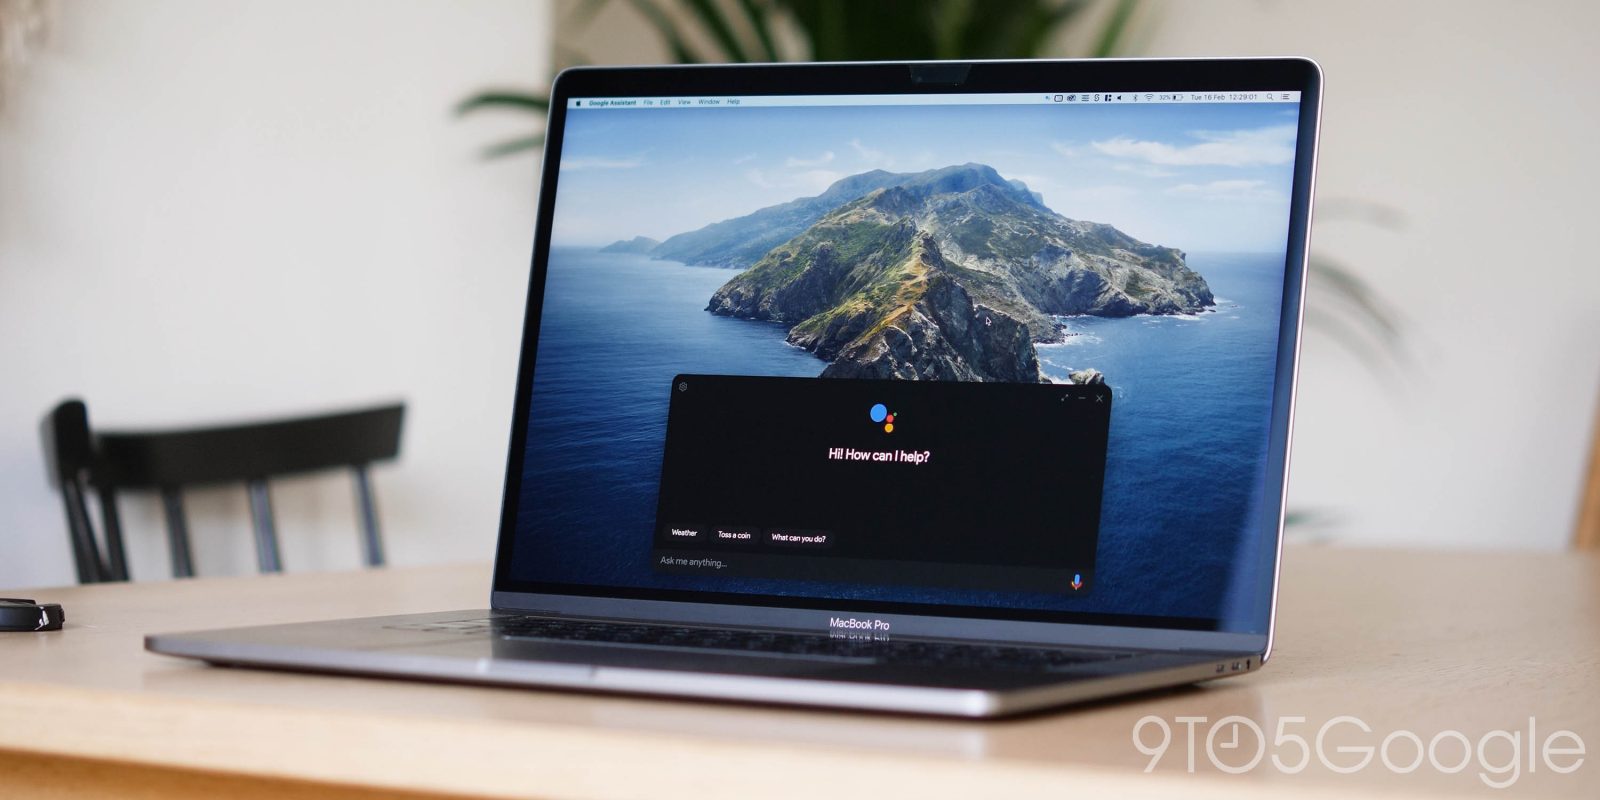
Thanks to an unofficial workaround you can now enjoy the — normally — fantastic Google Assistant on your desktop PC, Mac, or Linux machine.
As with many workarounds, it’s not as simple as installing an application or piece of software and then logging in to your associated Google account. There are a few steps to the process that are necessary precursors to getting the Google Assistant fully up and running on your main desktop machine.
We’d also suggest that not everyone should even try this. While we simply don’t know for certain, there is the potential risk of losing access to your Gmail account should Google decide to clamp down on this admittedly impressive workaround. For that reason alone, only those foolhardy enough to run software that may break some Google Terms of Service should continue.
But we’ve been trialling the Google Assistant on desktop to see if this is the next frontier for the automated AI-powered assistant. It’s worth noting that you can provide a burner Gmail account access to smart home controls and more using the Google Home app and adding a specific user or email to household members.
Video — Hands-on with the unofficial Google Assistant desktop client
Subscribe to 9to5Google on YouTube for more videos
How to install the unofficial Google Assistant on Windows, Linux, or MacOS
As you would expect with any unofficial client, expect to put in a fair amount of work in getting the Google Assistant all set up on your desktop machine. Much like the unofficial port of the Assistant on Samsung’s Galaxy Watch models in 2019, the process shares some similarities.
The project’s creators have an excellent detailed tutorial on Github. Essentially, the process boils down to using Google Cloud to use the Assistant API. You do need to use the Google Cloud to gain access to the Assistant API. At this point, if you’re not happy doing this, then we advise just stopping here and skipping ahead to our final thoughts.
Precursors: You’ll need to download the appropriate client for Mac, Windows, or Linux from the official-but-still-very-unofficial Google Assistant on desktop GitHub page here.
Using the Google Cloud API shouldn’t put you off too much. It takes a few minutes, but in reality it’s a fairly simple process that most of you out there should have no problems with. We have abridged the in-depth instructions, but below you can find a very brief overview:
- Head to Actions Console > New Project > Enter a project name > Create Project.
- Click the “Are you looking for device registration?” pop-up.
- This will load the “Device Registration” page > Register Model > Enter your device details > Download OAuth 2.0 credentials
- Open Cloud Console > Select Project > All > Find your project > Open > APIs & Services > Enabled APIs and Services.
- API Library will open. In the search bar enter “Google Assistant” and tap “Google Assistant API.”
- Enable the Google Assistant API.
- Open Credentials side-menu > Configure Consent Screen.
- Open OAuth consent screen side-menu > Select “External” > Create > App Registration > User support email > Enter your email address.
- Now enter your email address again in the “Developer Contact Information” section > Save and continue.
- Skip the “Scope” screen by tapping “Save and continue.”
- Under the “Test Users” section > “Add users.”
- Now enter the Gmail account you want to use with the Google Assistant on desktop. You can add multiple accounts by separating with a comma.
- Launch the Google Assistant Unofficial Desktop Client.
- Tap Settings > Authentication > Key File Path > Add the “OAuth 2.0 Credentials” from the previous signup process.
- Leave the “Saved Tokens Path” blank > Save.
- In the pop-up, tap “Automatically set a path” > Relaunch the Assistant.
- The “Get token!” screen will pop-up, which will authenticate in your default browser > Select the account you want to connect with.
- If you hit a warning page, tap Advanced > “Go to <project name> (unsafe)” > Grant permission.
- Copy the authorization code.
- Switch to the Google Assistant desktop client > paste > Submit > Relaunch Assistant.
How well does it work?
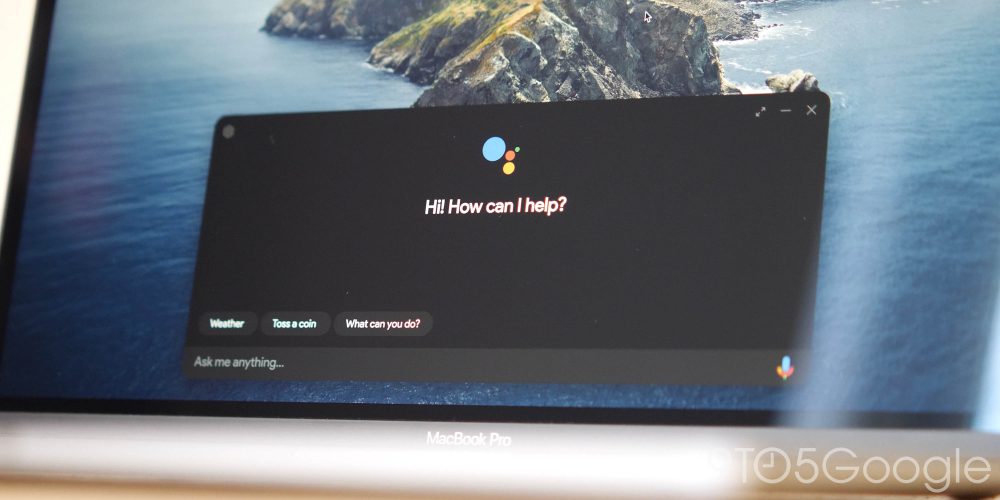
So unlike the activation method you’re probably accustomed to, activating the Google Assistant needs to be done manually, but so long as you have a microphone attached, all of your standard voice commands will work as normal.
As it stands, the “Hey, Google” activation method simply won’t work without using some extra work — which might change over time provided this project manages to stay afloat and alive. We tested out on Windows 10 and MacOS, and the Win Key + Shift + A or CMD + Shift + A activation methods proved to work exceptionally well. It would be great to be able to edit this hotkey setup, but for now, it’s a great combination that is easy to remember.
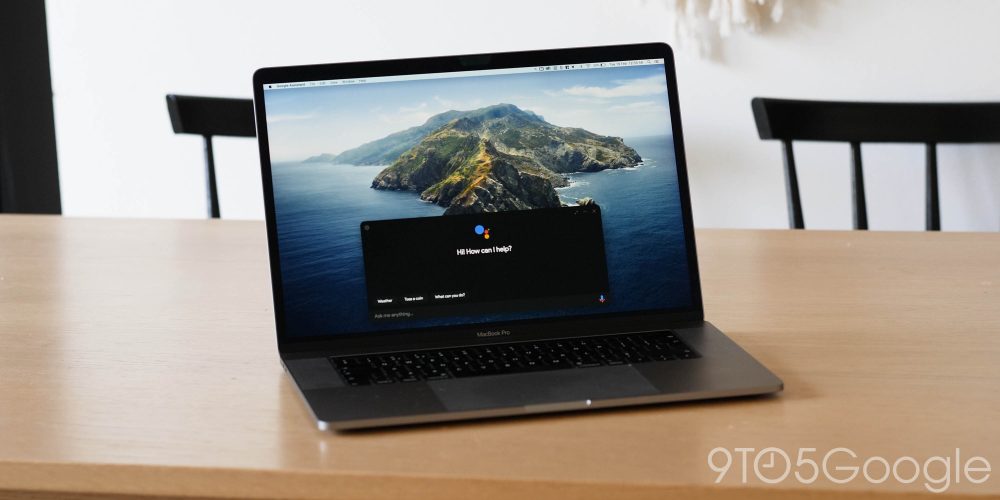
The persistent pop-up section does feel about as close as a third-party implementation could be without being made directly by Google. It’s very similar to the Assistant integration already found within Chrome OS.
One major benefit of this unofficial Google Assistant support is that you can control all of your smart home tech directly from your laptop or desktop PC. The only downside we can see at the moment is the UI can be a little poorly rendered or lacking the “correct” UI. This does pose problems for certain commands, but this is a hacky method to integrate anyway.
While that is great, there are some disappointing aspects of this workaround. One of those is the inability to use Assistant Routines and playing music from clients like YouTube Music. It can be a bit of a bust without these options. This might prove to be a stumbling block for some people as the functionality is often a core portion of usage of the voice assistant in many cases.
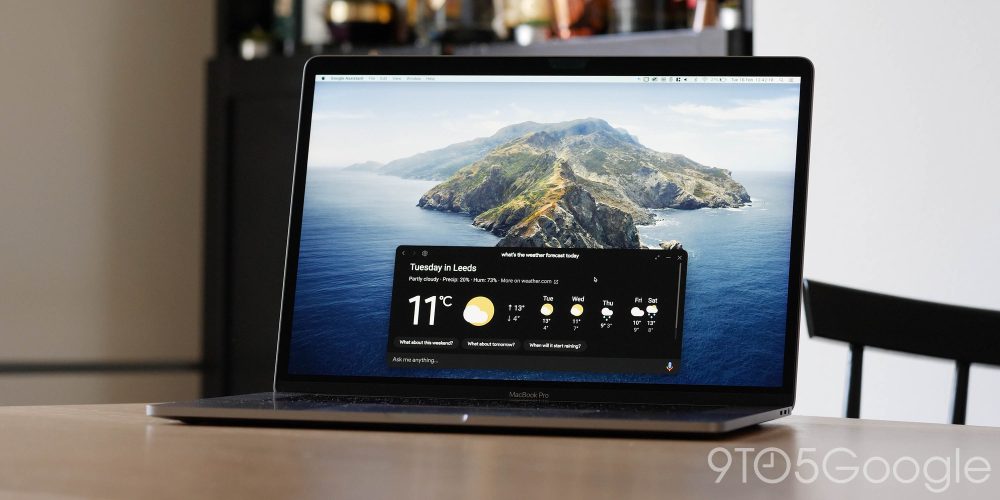
General queries work really well, and often I’m only really looking to get a quick update without needing to properly dig or search manually. This workaround manages that perfectly fine. We’d still highly recommend a dedicated Nest Hub or Smart Display in your office or room if you want all of the goodness of the Assistant, but as proof that a proper desktop client would work, we really hope that Google maybe gets some ideas to roll out an official version of their own.
Making do with the Google Assistant ambient mode on supported OnePlus and Xiaomi smartphones is another stop-gap that might fill an AI assistant-shaped hole in your work-from-home setup though. Alternatively, you could always get a Chromebook or ChromeOS-powered machine for “true” Assistant integration rather than hoping that Google doesn’t kill off this unofficial workaround.
More on the Google Assistant:
- Android Auto’s new killer feature is the ability to create custom Google Assistant shortcuts
- Google Assistant unofficially comes to Windows, macOS w/ useful custom client
- Google Assistant routines return to Android Auto
FTC: We use income earning auto affiliate links. More.


Comments